Property Handover in Kenya: The Complete Snagging Checklist for New Apartments
Taking handover of a new apartment in Nairobi is your final opportunity to identify defects before signing completion documents. Here is the exhaustive architectural, plumbing, and electrical snagging protocol every buyer should execute.
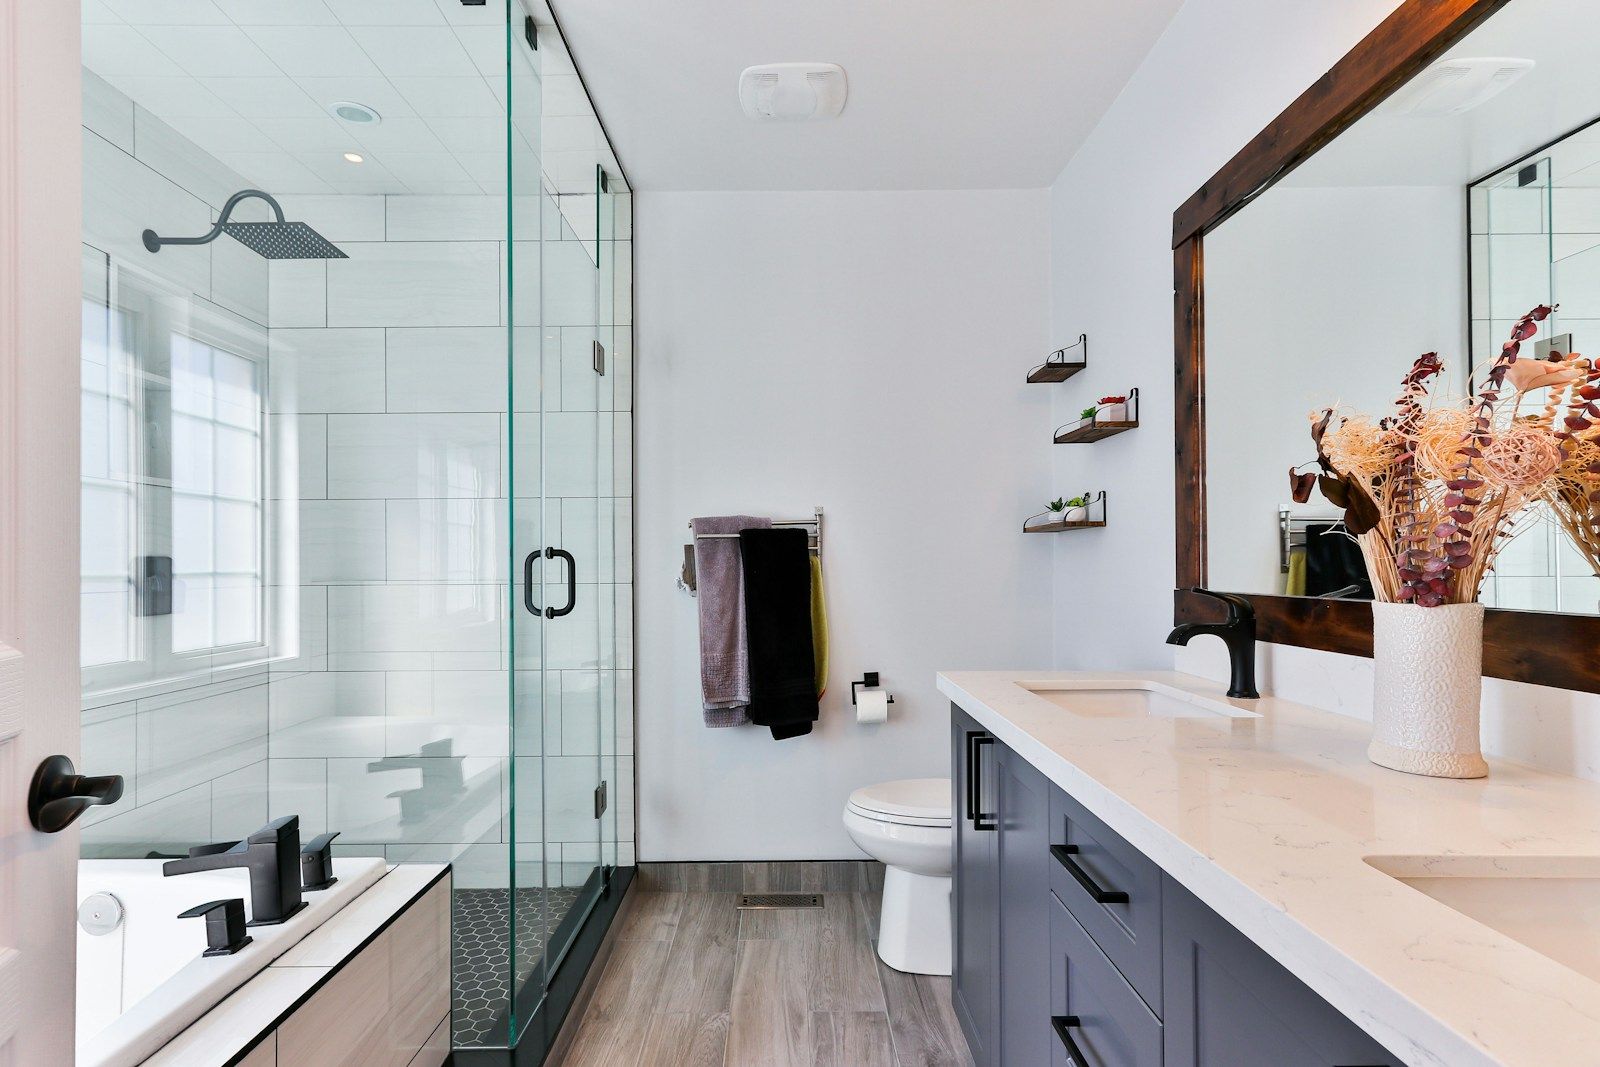
Receiving the formal completion notice from your developer is an exciting milestone. After months or years of waiting through architectural foundation stages and construction progress updates, your new home or investment apartment is finally ready for physical occupation.
However, handover is also your single most critical contractual leverage point. Once you sign the handover discharge form, accept the keys, and authorize your conveyancing advocate to release the final balance of purchase funds, your commercial bargaining power diminishes dramatically.
A professional snagging inspection is not an act of hostility; it is a standard quality assurance protocol practiced worldwide to ensure that what was promised in the architectural sales brochure has been delivered with sound craftsmanship.
The Golden Rules of Handover
Before beginning your physical walk-through, establish three procedural boundaries:
1. Inspect in Bright Daylight: Never inspect an apartment in the late afternoon or evening. Natural sunlight reveals plaster imperfections, uneven paint coats, tile lippage, and scratched glass that interior lighting conceals.
2. Never Inspect Alone: Bring a partner, a technically minded friend, or ideally, a certified building surveyor. Two sets of eyes will catch details that one person overlooking in excitement will miss.
3. Link Handover to Retention Funds: Standard conveyancing agreements stipulate that between 5 percent and 10 percent of the purchase price is held back as a retention sum. This money must remain safely in your advocate escrow account until the contractor addresses your written snag list.
The Comprehensive Room-by-Room Snagging Protocol
Equip yourself with a notepad, digital camera, phone charger (to test power sockets), flashlight, and a small level. Work methodically through every zone:
| Inspection Zone | Key Checkpoints & Tests | Common Defect Signatures |
|---|---|---|
| Tiling & Flooring | Tap every tile for hollow sound; check floor slope toward drainage traps | Hollow bedding, uneven tile lippage, cracked grout lines |
| Plumbing & Sanitary | Flush all toilets twice; fill sinks to overflow; run shower for 15 mins | Slow drainage, leaks under sink P-traps, unsealed shower screens |
| Electrical Systems | Test every socket with a phone charger; switch on all lights simultaneously | Ungrounded sockets, reversed polarity, flickering LED circuits |
| Doors & Windows | Open, close, and lock every window and door; check rubber weatherstripping | Sticking door frames, rattling window sashes, draft leaks |
| Walls & Ceilings | Inspect plaster flatness across light; check cornices and baseboards | Hairline shrinkage cracks, water stains from unit above, uneven paint |
| Cabinetry & Joinery | Open all wardrobe drawers; check soft-close hinges; inspect shelf levels | Misaligned cabinet doors, missing shelf brackets, scratched laminate |
Critical Functional Stress Tests
Beyond cosmetic paintwork, execute three non-negotiable functional tests:
1. The Bathroom Drainage Slope Test
Pour three buckets of water across the master and guest bathroom shower floors. Observe the drainage path. Water must move immediately toward the floor waste trap without pooling in corners. In Nairobi apartments, poorly sloped bathroom floors are the number one cause of standing water, mildew, and foul odors.
2. The Electrical Load Test
Turn on all internal circuit breakers. Plug in your charger or an electrical appliance in every socket. Simultaneously turn on the instant water heater, electric oven, and air conditioning units. Ensure the main consumer board does not trip under full operational load.
3. The Window Water Ingress Test
If possible, conduct your inspection during or immediately after heavy rain. If inspecting during a dry month, spray water vigorously against exterior sliding windows and balcony doors to verify that aluminum drainage weeps allow water to escape outward rather than seeping into living room floorboards.
Formalizing the Snag List and Enforcing Rectification
Do not leave verbal instructions with site foremen. Follow this formal resolution procedure:
1. Itemize and Photograph: Number each defect, photograph the issue with clear scale reference, and compile a formal Snagging Schedule.
2. Joint Sign-Off: Walk through the documented list on site with the developer project manager, requiring their signature acknowledging each item.
Key Takeaways
- 01.Never accept keys or sign handover discharge forms without conducting a rigorous daytime snagging inspection.
- 02.Withhold the 5 percent to 10 percent completion retention sum in your advocate escrow account until all documented snags are rectified.
- 03.Enforce your 6-month statutory Defects Liability Period (DLP) under National Construction Authority guidelines.
- 04.Execute essential functional tests: hollow tile tapping, bathroom drainage flood tests, and multi-appliance electrical load tests.
- 05.Photograph and catalogue every defect with date stamps, requiring written acknowledgment from the developer project manager.
3. Set a Binding Timeline: Agree on a formal rectification window, typically 14 to 21 working days, before re-inspection.
4. Re-Inspect Before Release: Never authorize your advocate to release the final completion balance until you have physically verified that every item on the snag list has been satisfactorily resolved.
Zuri Estates Team
Property Advisory & Client Coordination
The Zuri Estates Team provides independent property guidance, market intelligence, and acquisition support across Nairobi and the Kenyan Coast. Operating from our Kilimani offices, our desk coordinates developer audits, physical site inspections, and legal conveyancing for homebuyers and investors.

Antony Baragu
Real estate strategist
This article has been reviewed by Antony Baragu to ensure the accuracy, completeness, and validity of all market metrics, property details, and investment guidance.
Related Residences, Developments & Neighbourhoods
KILIMANI · MENELIK ROAD, OFF NGONG ROAD, KILIMANI, NAIROBI
Emerald Residences
Modern urban living with strong investment potential in Kilimani

WESTLANDS · NAIROBI
Oak West 2 Bedroom Apartment
Contemporary 2-bedroom living in the heart of Westlands.

Westlands · Vihiga Road, Kilimani, Nairobi
Luster Arbor Residency
Modern apartments designed for elegant city living and exceptional long-term investment.

Westlands · Muthithi Road, Westlands, Nairobi, Kenya
Montbleu Residences Westlands
Elevated Living. Timeless Design. Prime Westlands Address.

Featured Neighbourhood
Kilimani
Nairobi's vibrant apartment district with exceptional rental demand and investment potential.
Featured Neighbourhood
Kileleshwa
A peaceful, upscale neighbourhood offering elegant apartment living close to Nairobi’s key business districts.
Featured Neighbourhood
Westlands
Nairobi’s premier commercial and luxury residential district with exceptional investment potential.